Signups make it easy to share the workload. They’re fun to create and can be attached to any post. You can even assign blocks of time and members to the tasks.
CREATING A SIGNUP LIST:
1. From the create post screen, start by giving your post or event a Title and include any optional Details.
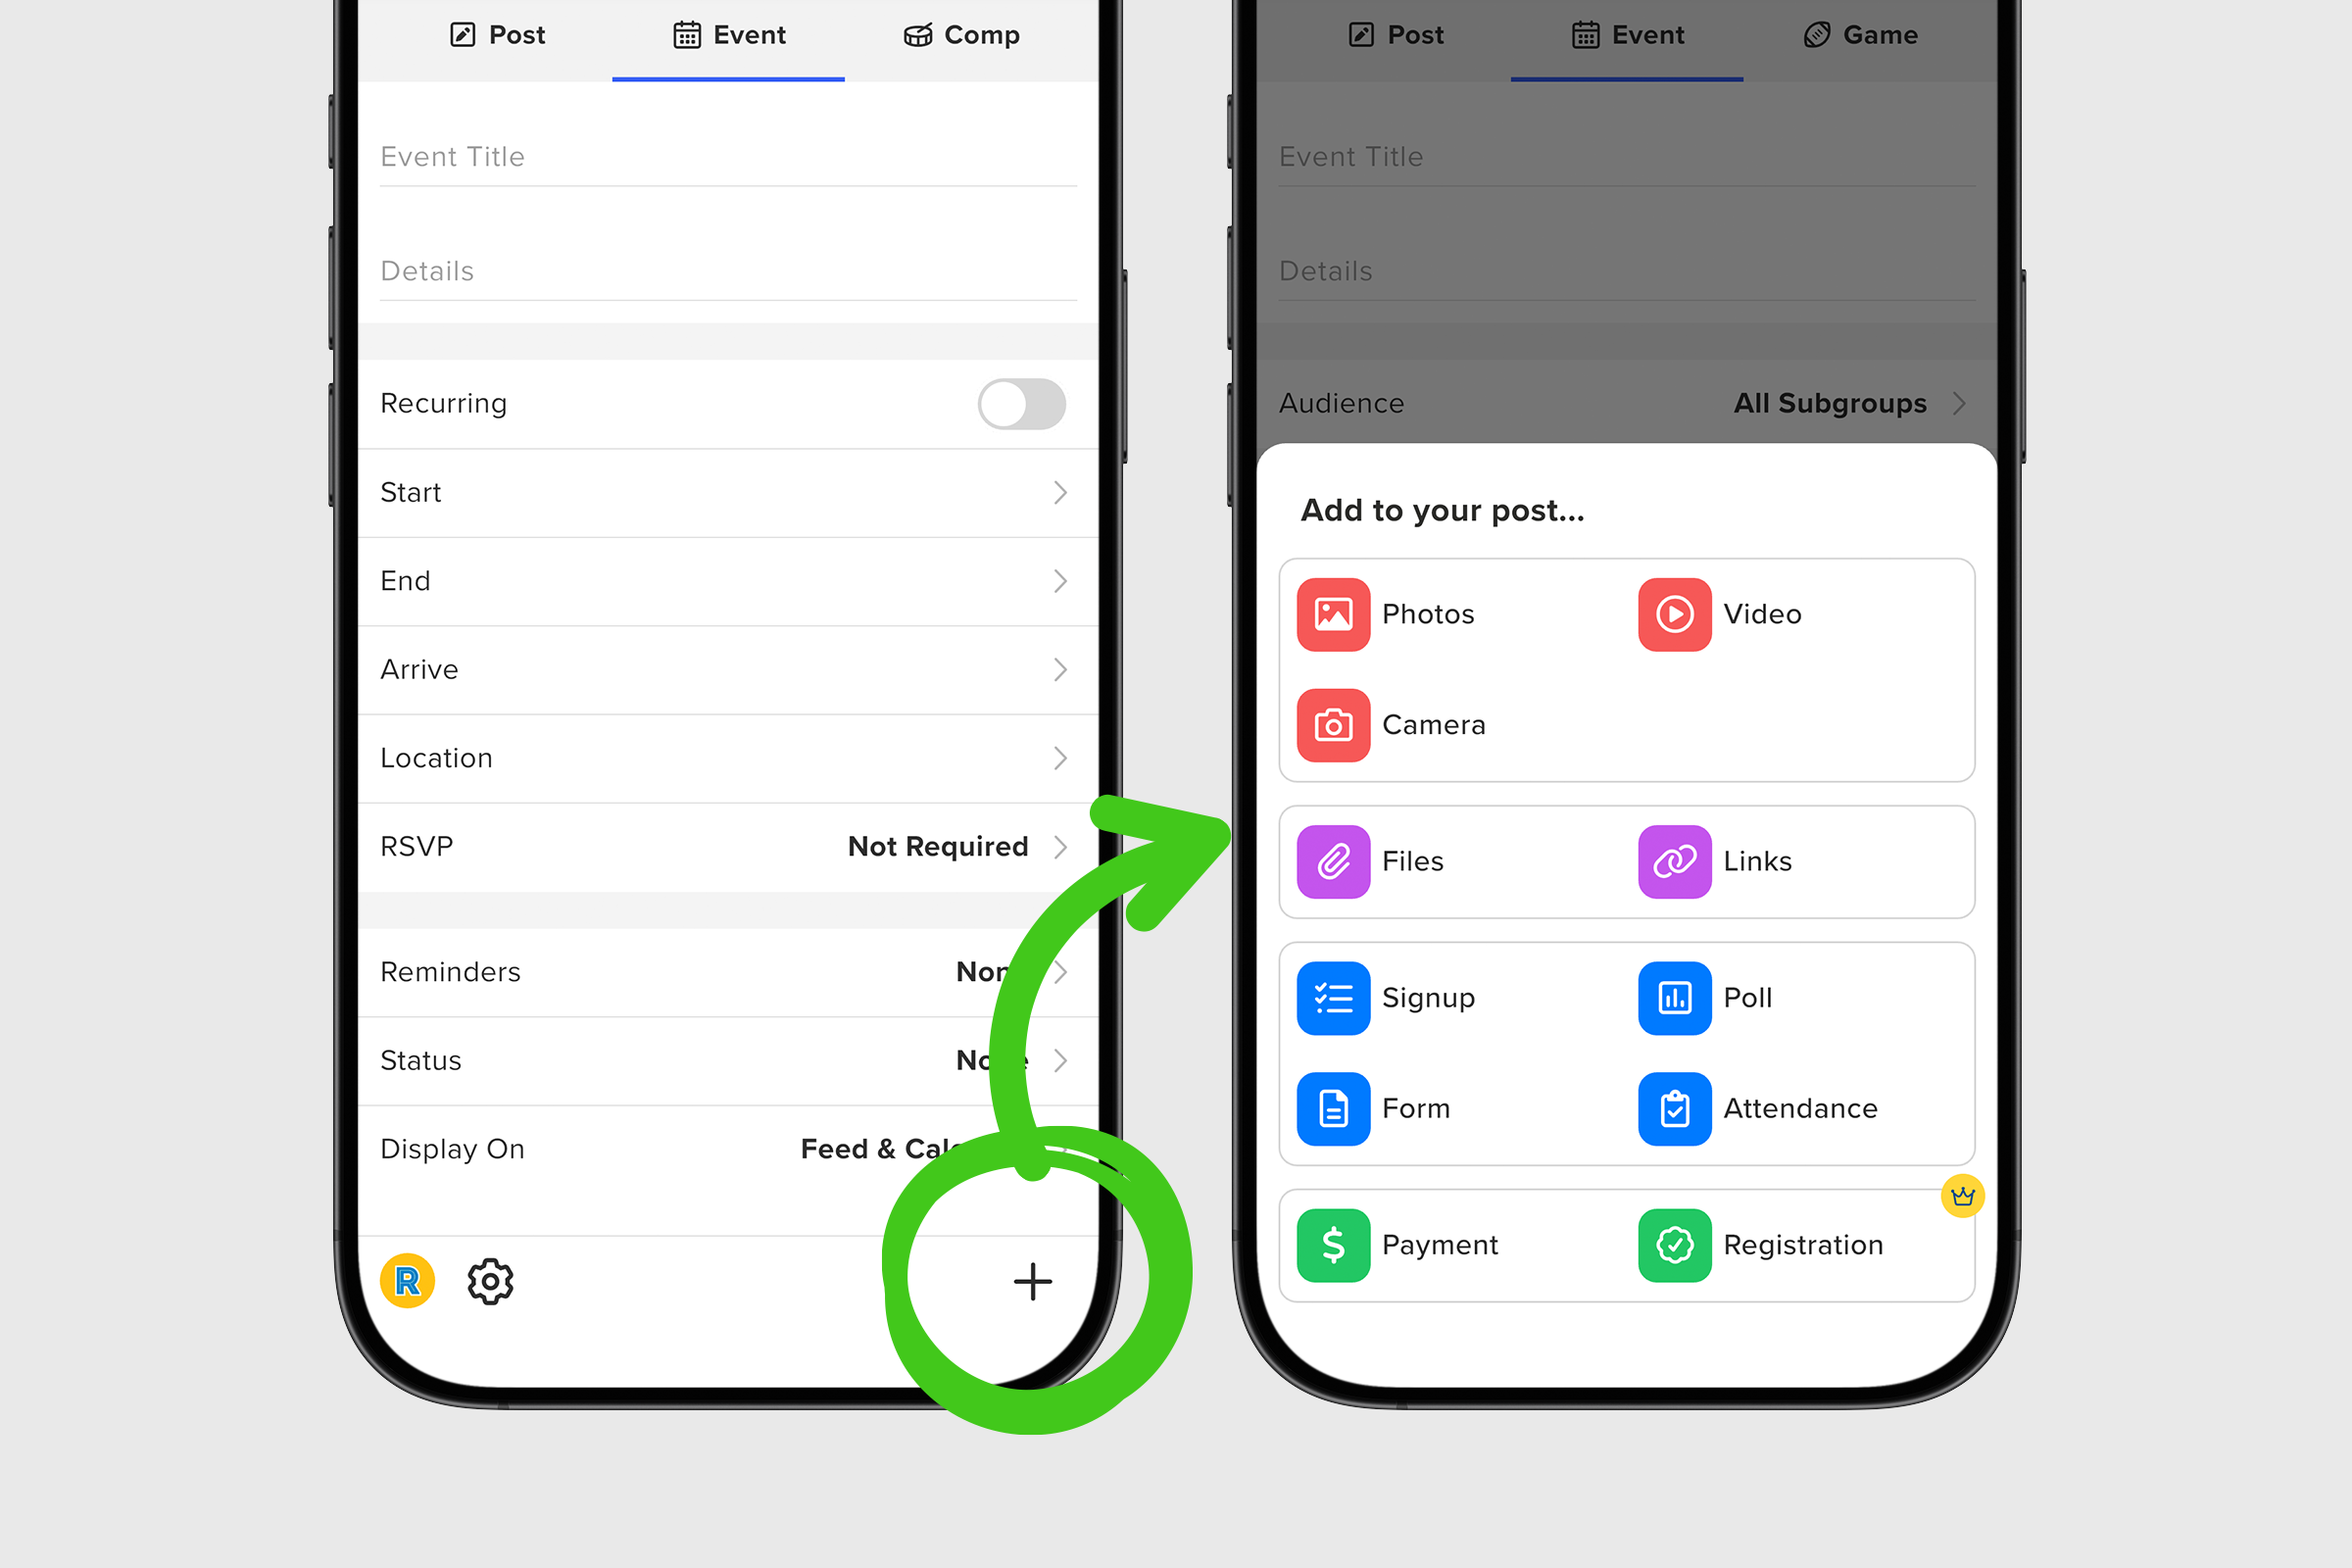
2. Press the + icon at the bottom right corner of your screen to add to your post. Select Signup from the menu of options.
3. Start creating your signup by giving your signup list a name. Then select Add Item to start building your signup.
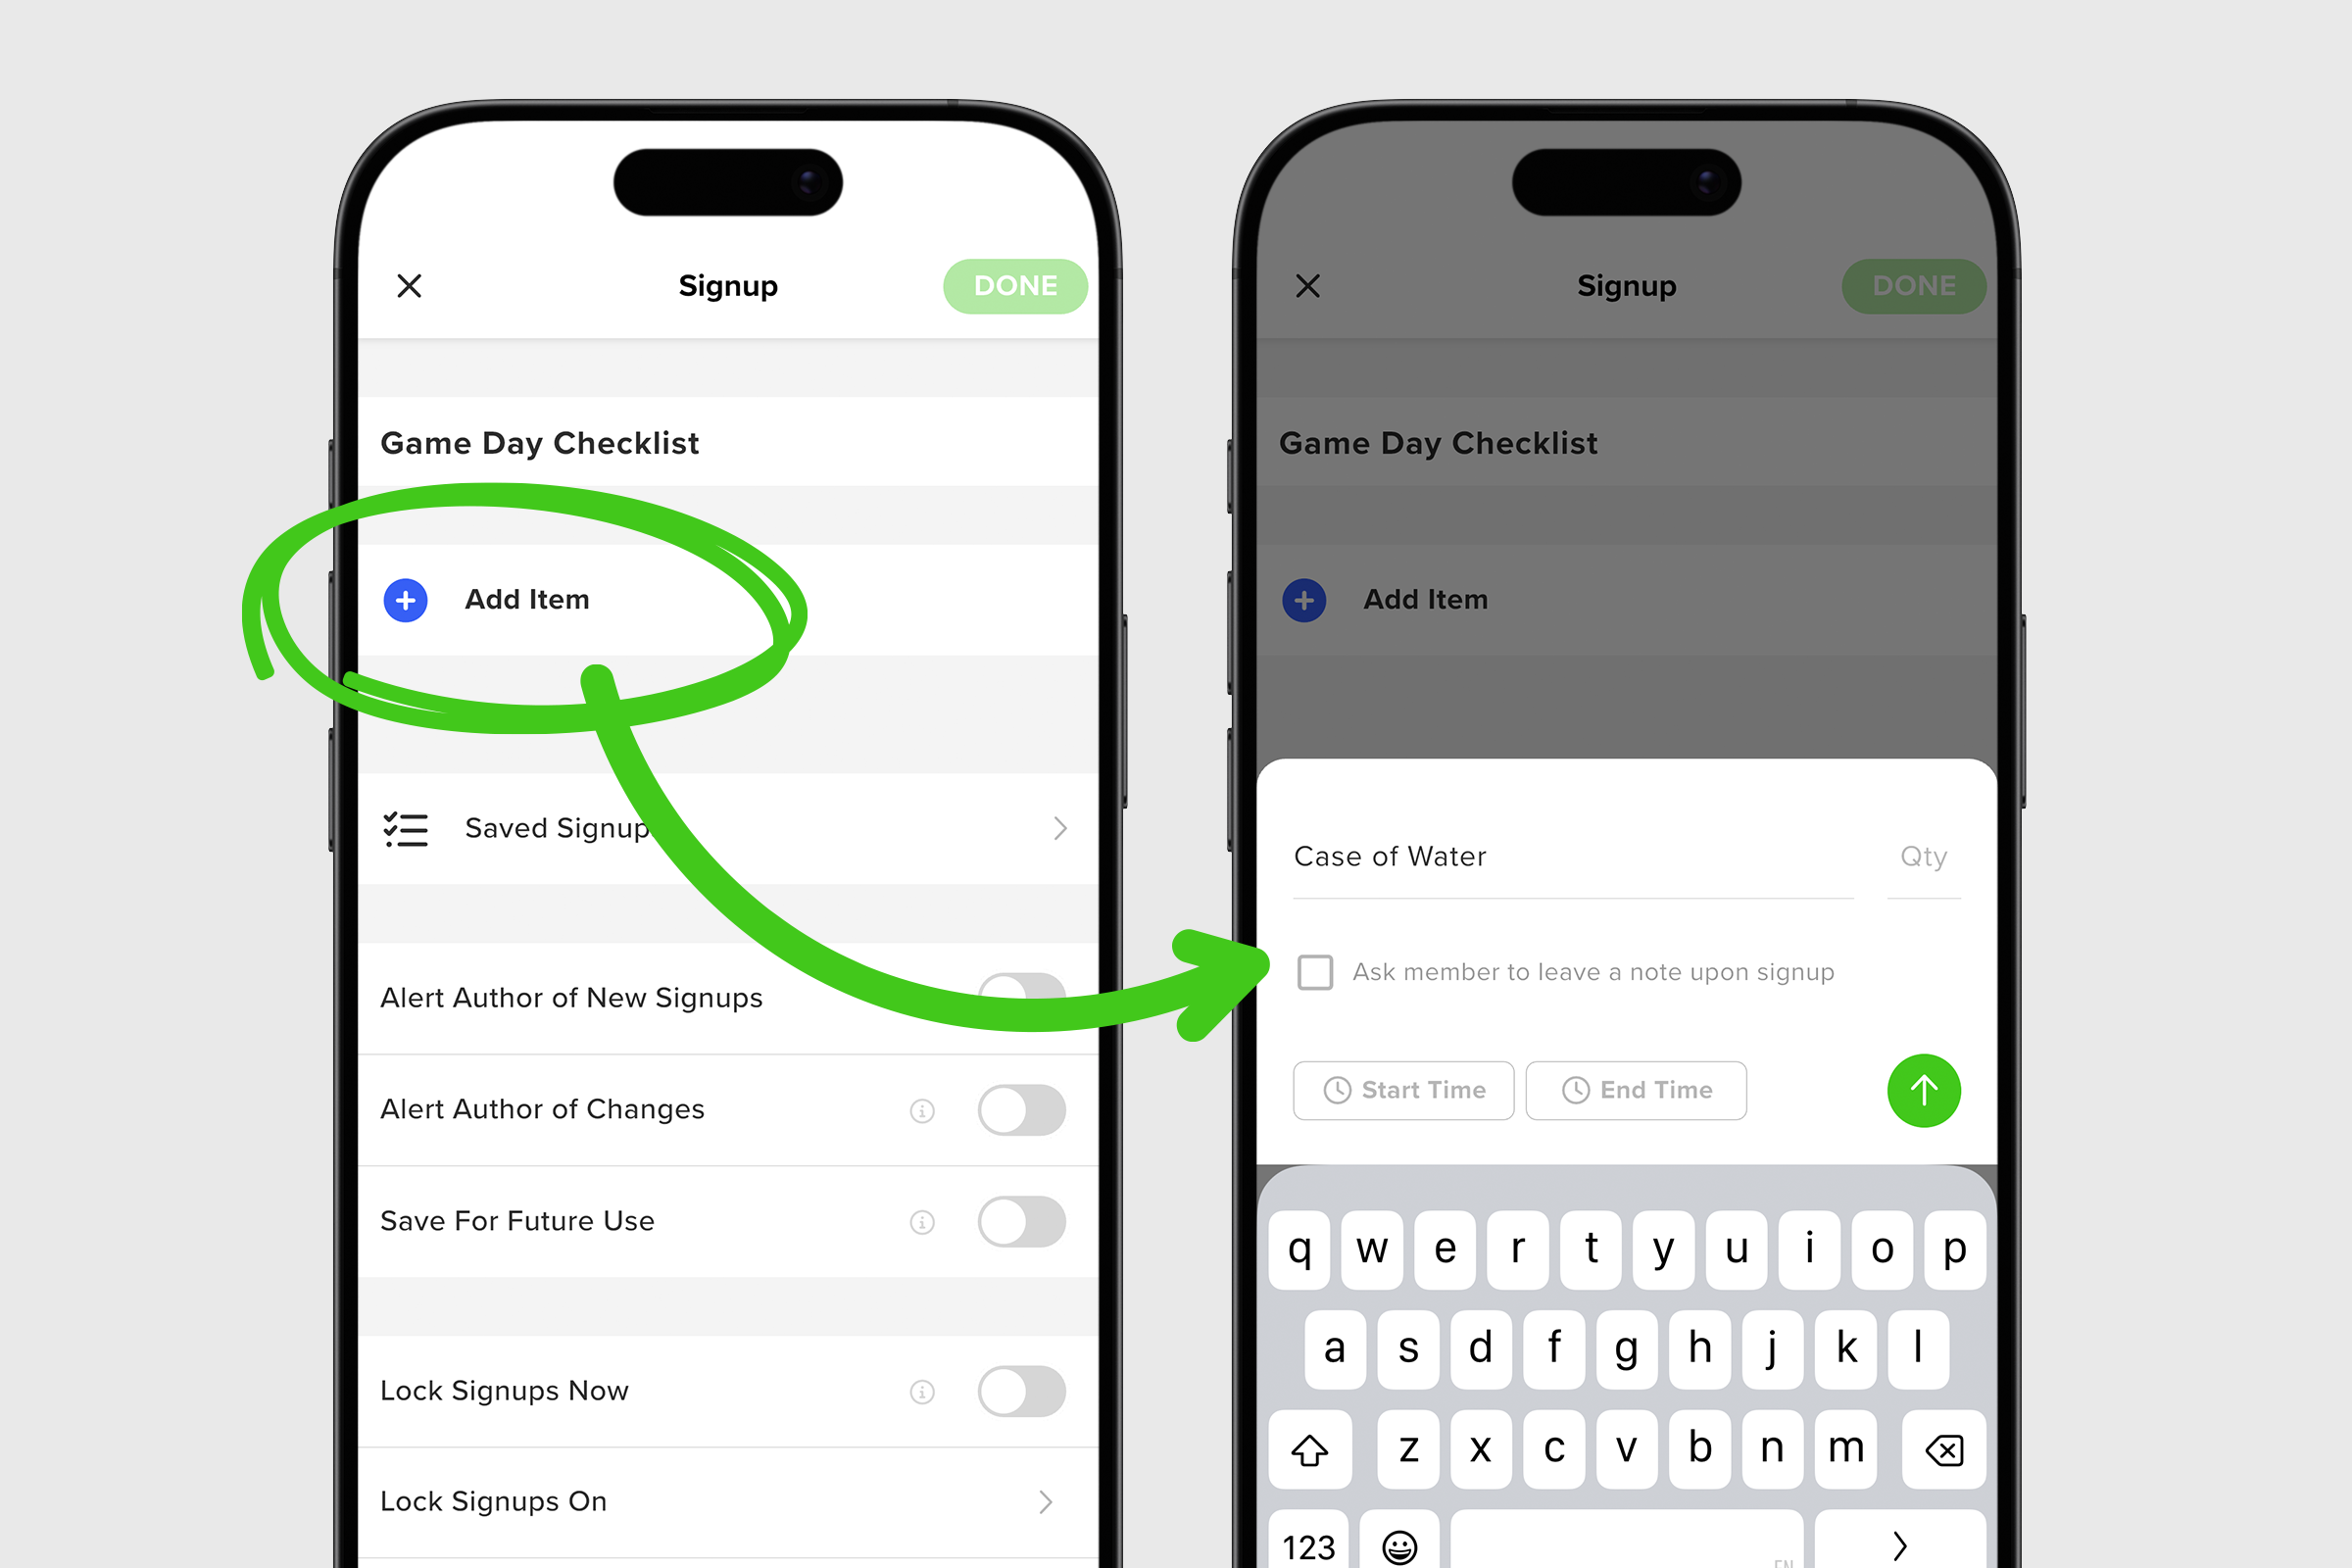
4. Add your first item and then add the quantity you need. For example, you might need cases of water x 4 or parents to help set up x 3. You can also assign time slots if you have specific windows to fill. This is really helpful when scheduling volunteers. Then tap the green arrow to add your first item to your signup.
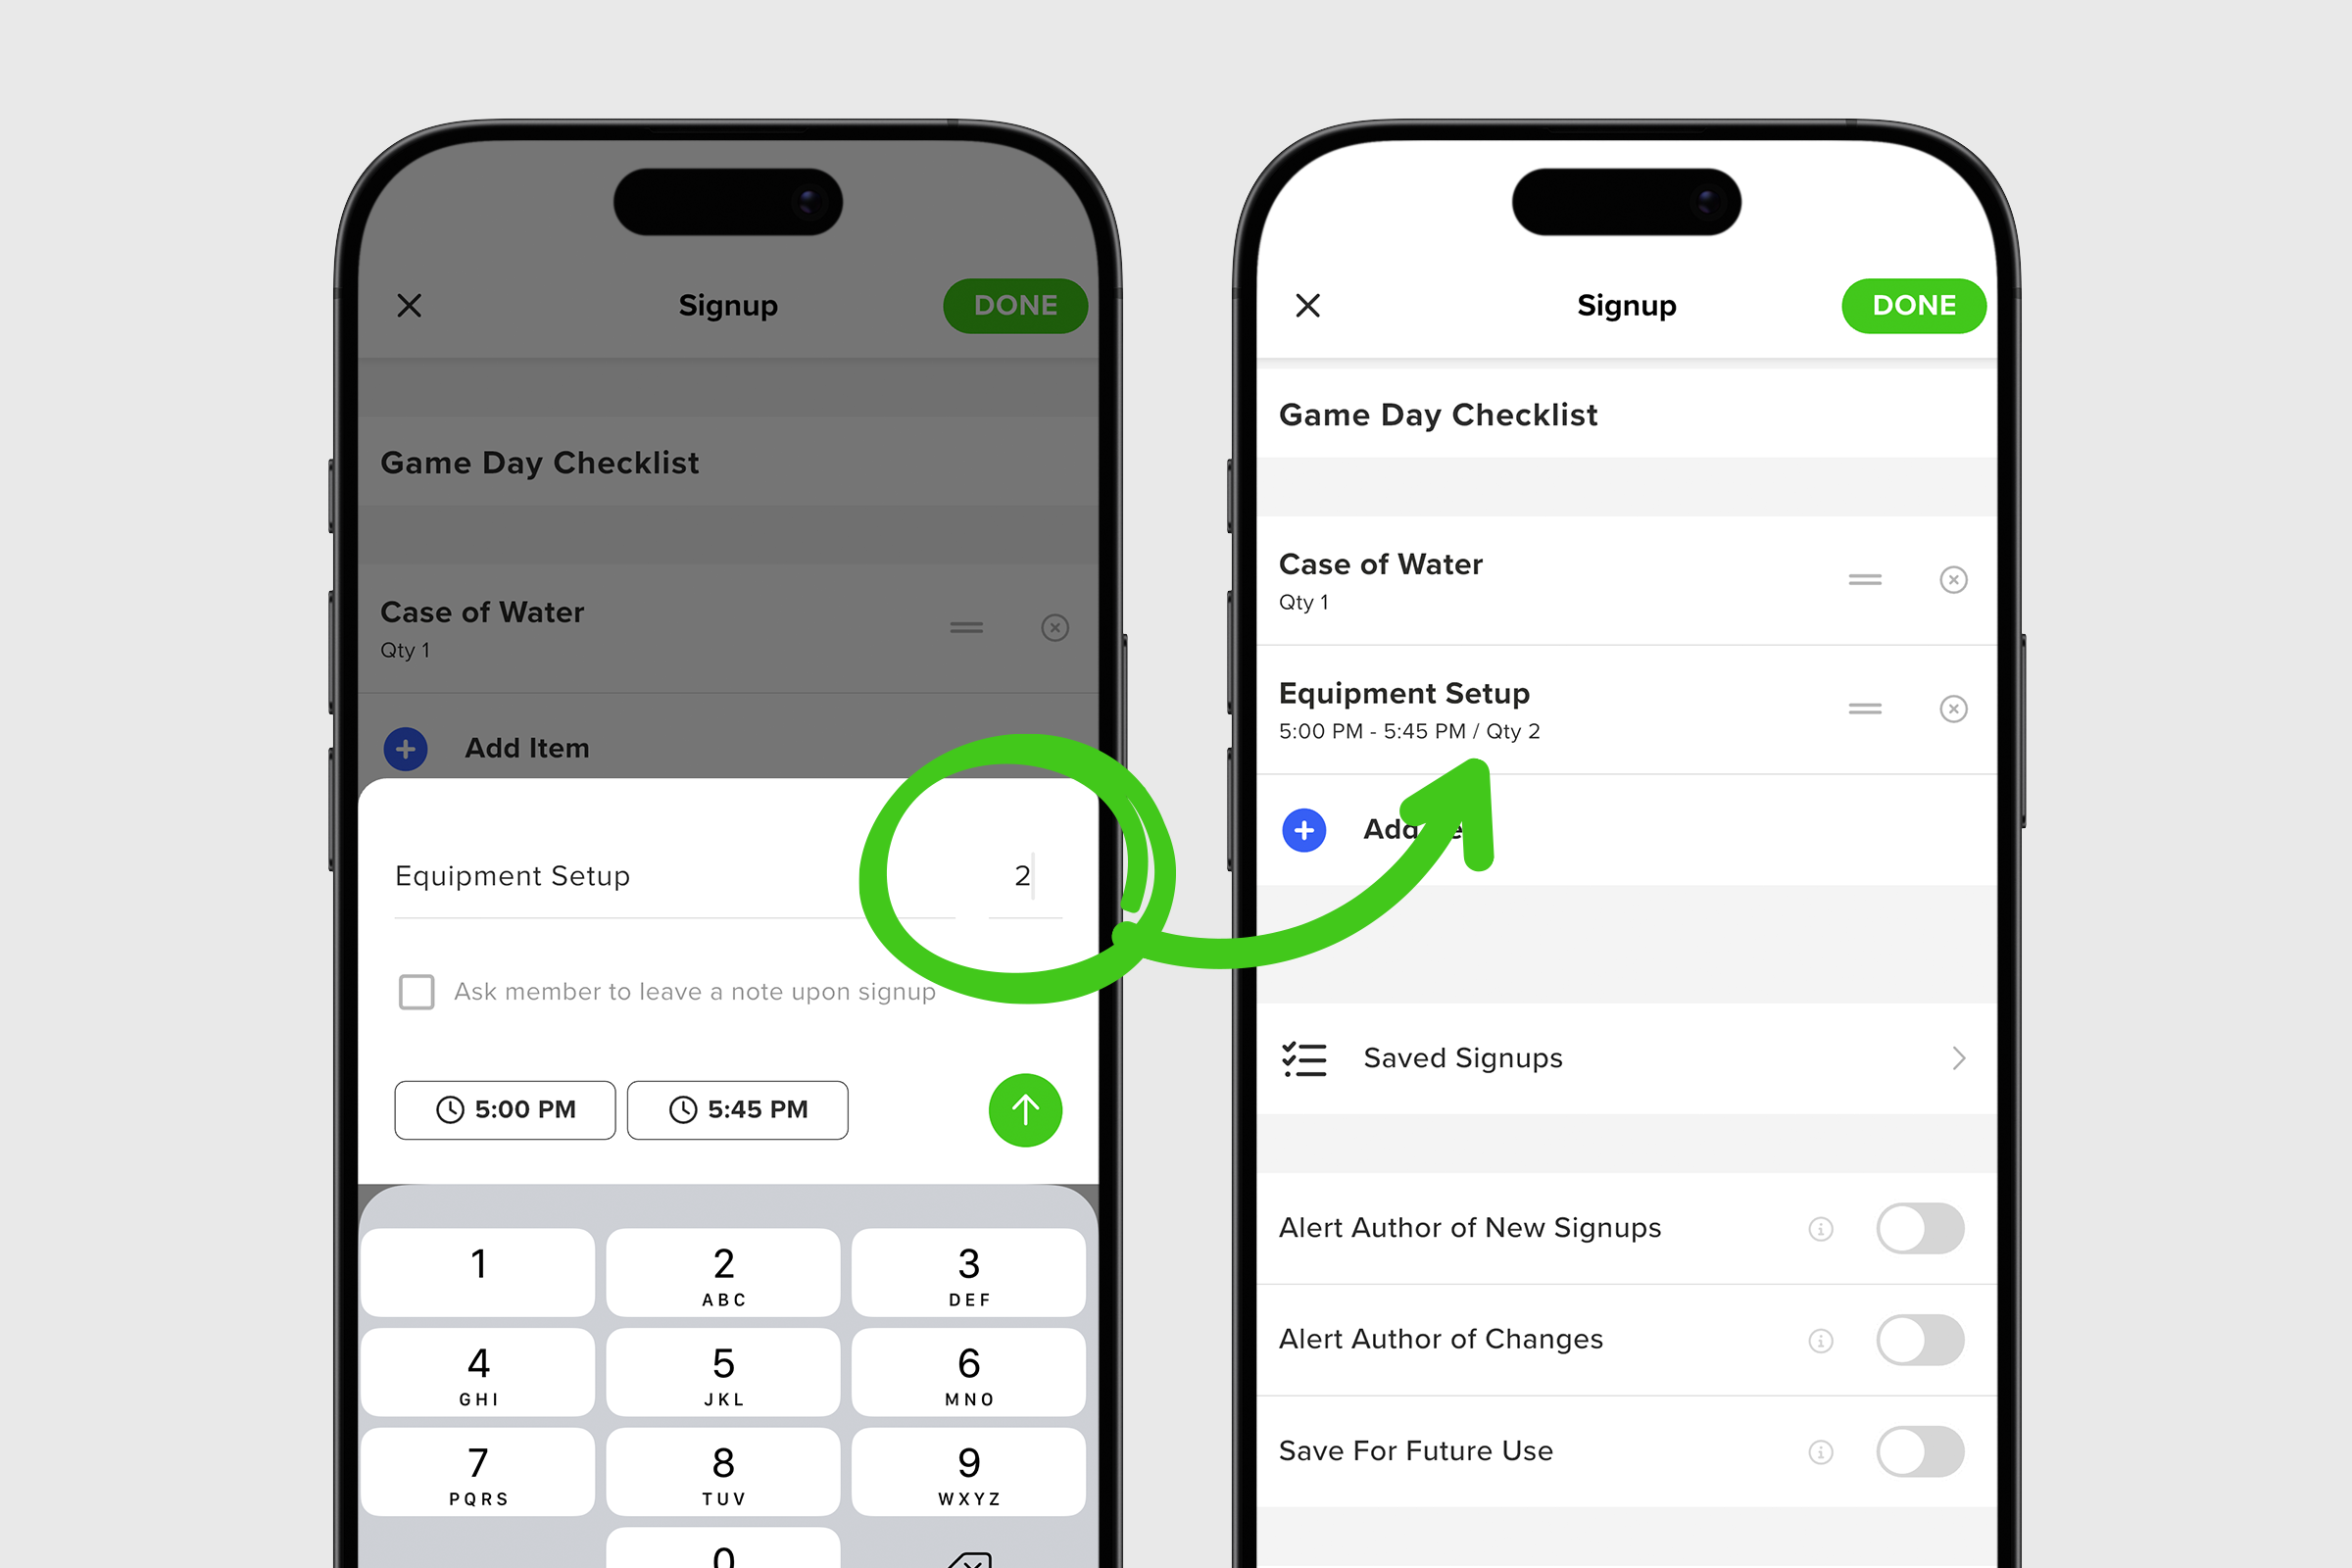
5. Repeat this same process to add additional list items.
ALERTING, SAVING, & LOCKING YOUR SIGNUP:
1. Once you’ve filled in your signup, you can turn on alerts for new signups and changes. Just toggle on Alert Author of New Signups and Alert Author of Changes if those notifications are desired.
2. If this is a signup that you want to reuse down the road, toggle on Save for Future Use.
3. The last signup option you have at your fingertips is whether to lock your signup now or on a future date. To lock it now, toggle on Lock Signup Now. To lock it for a future date and time, just tap on the Lock Signups On row and add your deadline.

4. Once you’ve added all your items and your signup list is ready to go, select DONE to return to your create post screen where you will see your new signup attached to your post.
5. When everything is in order, select Post to publish.
